This post is outline all the areas of rust and rot which requires cutting out. Most were identified by the MOT inspectors crayon.
As always a small hole when stripped back the extent of the rot increases exponentially!
What starts out as a small hole always ends up huge!
Front wheel arch / Sill


No photo taken of the cut out area. Rough marked out repair patch in red.
Inner Sill Front

Inner Sill Rear


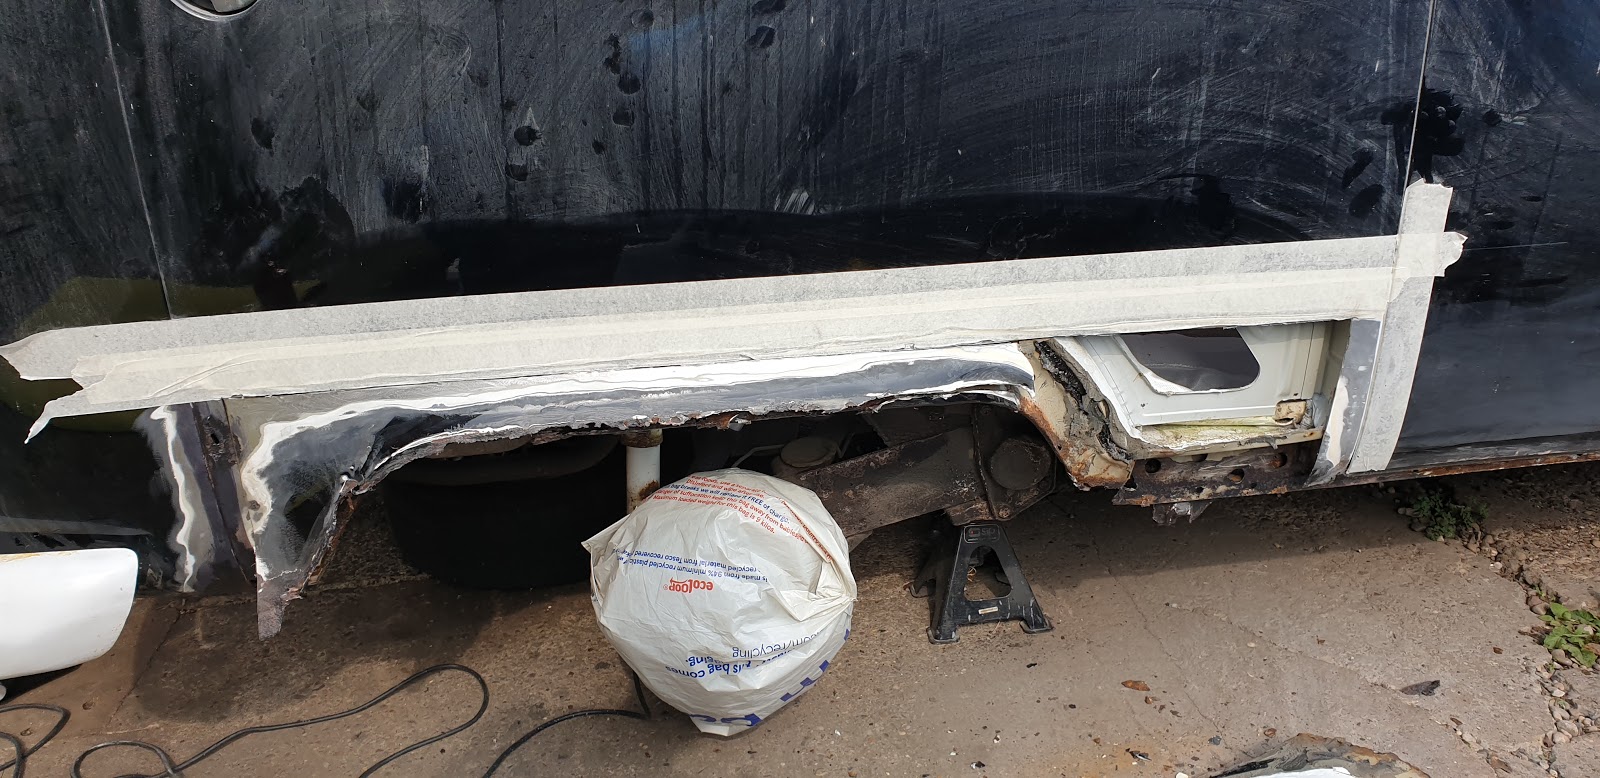
Quite major holes at the end of the rear outer sill and then coming into the wheel tub at the rear. Red marks are roughly where the patches are to be made. The rot is mostly around end of the sills.
Outer Sill
The outer sill was the most rotten of panels. There was quite a lot of rust at the front. and rear.


CANNOT quite believe what I have found. The Previous owner or Danbury had just put a patch over the rusty outer sill!
It was only spot welded at the corners! then covered in filler!
No wonder it was rusting out.
After some more cutting.........


The middle and inner sill was in reasonable condition. a Small lip section at the front will be required. Then plenty of good metal on the middle and rear to weld the outer to.
Rear Wheel Arch
Again the rear wheel arch was the major rust spot along the lower sections and over the wheel.


Sanded down paintwork. Found the small area of rust near the battery tray. Defined the cutting area height to take in this small area.

Peeled back the panel at the top cut. Very hard to remove with all the Factory seam sealant.


All removed. Was really hard to not cut too far into the wheel tub.


Most of the rot was at the front lower edge, along the wheel tub edge and the the rear spot near the battery tray.

Rust converter applied (It leaves a blue / black residue)
Rear Bumper Mount
The left hand rear bumper mount and rear valance bracket needed some work.


Most of the right angle bracket for holding the rear valance needed removing. Chassis rail is in good condition. A slight hole on the D Post.
Left hand outrigger
While underneath I noticed a small area on the out rigger which I missed.

Battery Tray
I found some rot in the main battery tray (Right hand side) after all the other welding was completed and I was going to close up the small hole near the wheel arch. I found it after finishing and was not even on the MOT failure as the underseal under the tray was hiding it!

A small area underneath.......

turns into a large area on top


Hole keeps getting larger!


Complete tray removed. Decided to cut the whole thing out

All this work just for this little hole!
All the tray was removed as it would not bee good to just patch the hole as the shape and pressing would be hard to replicate! New Battery tray on order.
Recap
After all the areas which require attention have been found. I applied the rust converter on all the rust areas before any really cutting out. This will allow the area to be stabilized before a larger area of good metal work to be exposed and repair patches made.
the repair areas where patches wight go were identified and marked in Red welders pencil marks.
The next step is to clean back the underseal and seal sealant back to bare metal, prime and template the repair patches.
Stay tuned for next post Bodywork - Part 4 - Repair Patches
No comments:
Post a Comment