1 Year ago (Easter 2019) I finished the Rear wheel arch, sill and Battery tray repairs.
I painted one coat of epoxy primer to make it weather proof to protect it from the elements.
Time past and the weather at the end of 2019 was dreadful and never got / found the time to finally sort the paint out and also complete the final filler.
Here is the rear wheel arch in 2019:
As you can see the weld lines and filler work is far from ideal.
Finally the weather and the Covid-19 lock down events gave me a chance to complete this paintwork!
A mixed blessing but with enforced holidays from work give me a chance to get this finally finished!
So sanded back the epoxy primer and started filler work.
Filler was quite extensive for a few reasons. Firstly the amount of skim filler Danbury put on all the panels! Was 5mm deep and secondly the amount of welding and sealing I had done before
Once the filler was flatted back and pre-paint clean and masking was finished. Ready for primer
2 Coats of Epoxy primer was applied
First 2 coats of Black cellulose paint applied. Not very even coats as had issues with the spray gun setup. Crescent shaped pattern. But went ahead and got two coats on.
Next to flat sand the surface down again. Sill struggled to get an even flat surface!
So I was not happy about the flatting down of the first 2 coats. The surface was rough and uneven still. So continued to flat down to get a level coat. Lots of orange peel and over spray / roughness.
Downheartedly I decided to pick myself up and flatted down some more and repeated the top coats again.
After a few days off I regrouped and picked my motivation back up again.
2 further top coats applied and then 2 more Higher Thinners coats applied. Swapped my HVLP spray gun for a old siphon type gun I had from a air tools kit.
The spray gun was not ideal but at least it could lay down a coat. Quite stripy but I got a film down.
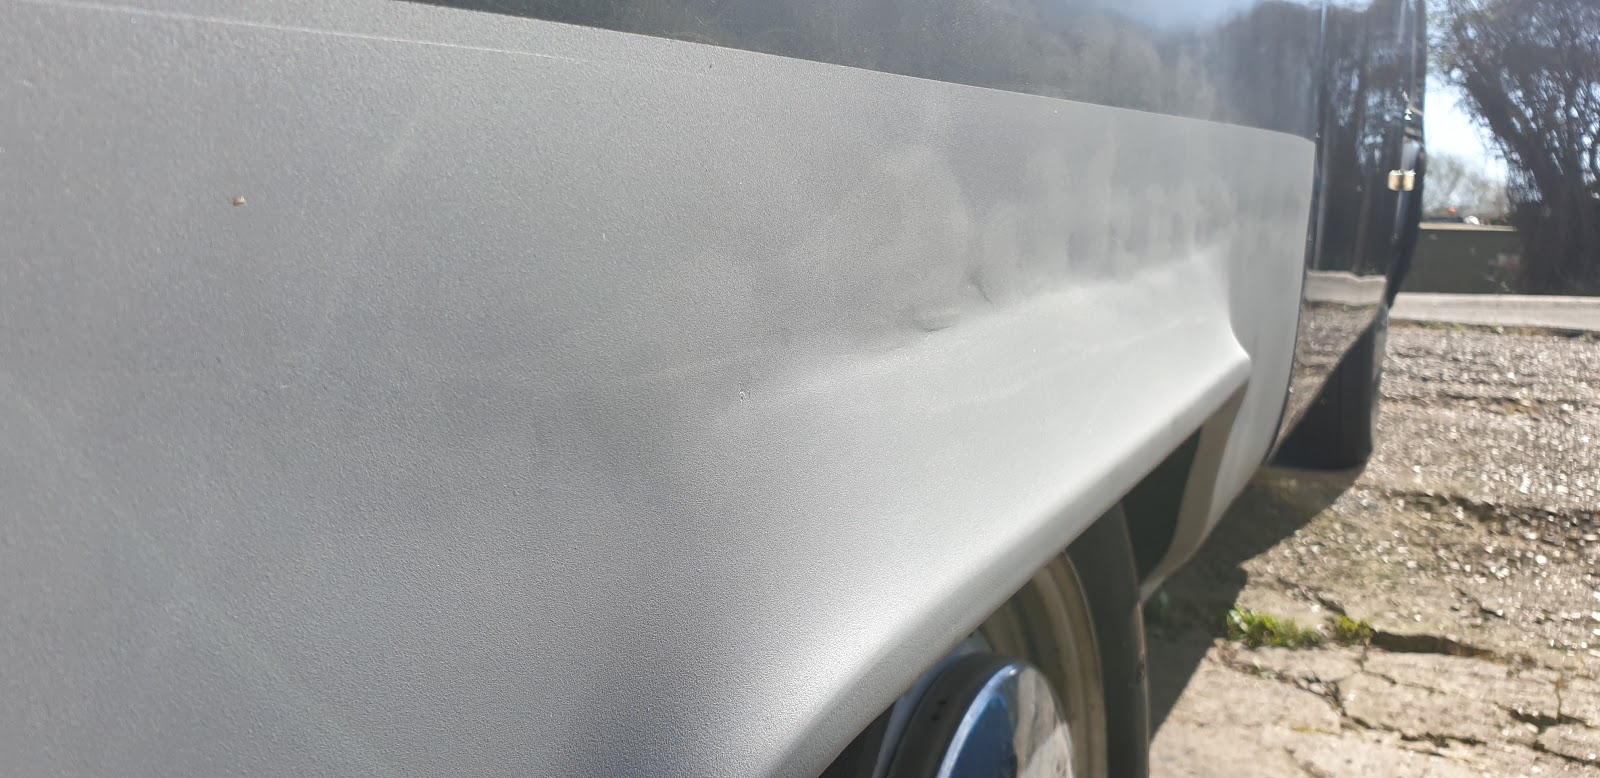
So the surface finish is still suffers from over spray and it's cellulose paint so will need one more flat sanding with 1500-3000 grit and G3, G6, G10 compound and a good polish.
I decided to wait for full hardening of the top coats to ensure that the paint has dried.
Still not got time yet to finish the flast sand & polish....... Updates to come soon........