Showing posts with label VW. Show all posts

Monday, 17 May 2021

Left Hand Wheel Arch Repair Part 1

 Gosh been a little quiet around here. Global pandemic does not help.

Betty has been resting on a new Barn over winter. With Covid restriction not allowing me to visit her until now.

With regular access since April I have started work on the Rear left hand side wheel arch.

The left hand wheel arch has had a small amount of bubbling just above the pressing over the wheel for a many few years. It never looked as bad as the right hand which was done a few years ago. But now was the time to have a good look.


Small amount of rust in two areas

Lower area around sill

Along the top edge

As always it starts with a few rust bubbles and then turns into holes.

Needed to understand why the lower corner where it meets the inner sill was rusting out. A bit more picking and the cause was found.

Under the underseal a hole had grown into a major entry point for all the water


So started to remove the rest of the paint and a good amount of cutting off the old outer wheel arch later.....


Quite a lot worse on the inner tub edge

Caught the rot not to effect the sills much


Gone up quite high

All the way back to the Battery tray. Rear corner and tray look okay

The rust had been a lot worse on the inner wheel rub area on the inside then obvious on the outside

So some inner tub repairs are needed. I always prefer to do these first and work my way outwards. Start with the flat vertical areas and then move onto the outer skin. Then coming back to finish the inner / outer closing lip once both are done. It makes life a lot easier then trying to do inner edge in free air not knowing where the outer is going to end up.


Cut out the inner sill closing


At least the C Post has not been badly affected. Only surface rust.

So much cutting and a lot of rusty metal removed. Nothing I have not done on the other side. After cutting and cleaning back a good coating of FE-123 rust converter was applied to all areas.

Moved onto starting to build up the inner wheel rub.


New straight area at the top was grafted in. New curved area on left created. New angle on right between the tub and the "mud flap" of the tub also built back.

Now I was happy the areas of the tub has been recreated I moved onto the outer skin.

Outer skin cut down to size and trial fitted

Outer body cut to fit

So the repair panel and outer body cut down for a massive long butt joint weld.

Painted all non welded edges with Epoxy mastic paint to ensure the area is good coating.


Coating the whole area again with Weld through primer again to ensure a good seal.

Moved onto the welding.


Tacked and then welded along. Ground down the weld.

I chose to align the butt weld at the top and then move downwards to the sill and battery tray to ensure I had a good panel gap without compromising the flatness of the join at the top.


Clamp the bottom sill on the left. Had to clamp down quite hard to get it to meet the lower sill limp. Poor cheap reproduction pressing. Tacked it in place.

Then moved onto the Battery tray on the right. again had to press in, clamp and tack weld. This allows me to get a good body gap which runs down.

That's all for Part 1. So far I can only have work access on Saturdays. So I did this over 3 days worth of work.

In Part 2 I will conclude the welding and hopefully have it finished. Maybe in 2 weeks time. Might be a part 3 with paintwork.

Stay tuned.


Thursday, 30 April 2020

Rear Wheel Arch Painted Finally


1 Year ago (Easter 2019) I finished the Rear wheel arch, sill and Battery tray repairs.

I painted one coat of epoxy primer to make it weather proof to protect it from the elements.

Time past and the weather at the end of 2019 was dreadful and never got / found the time to finally sort the paint out and also complete the final filler.

Here is the rear wheel arch in 2019:


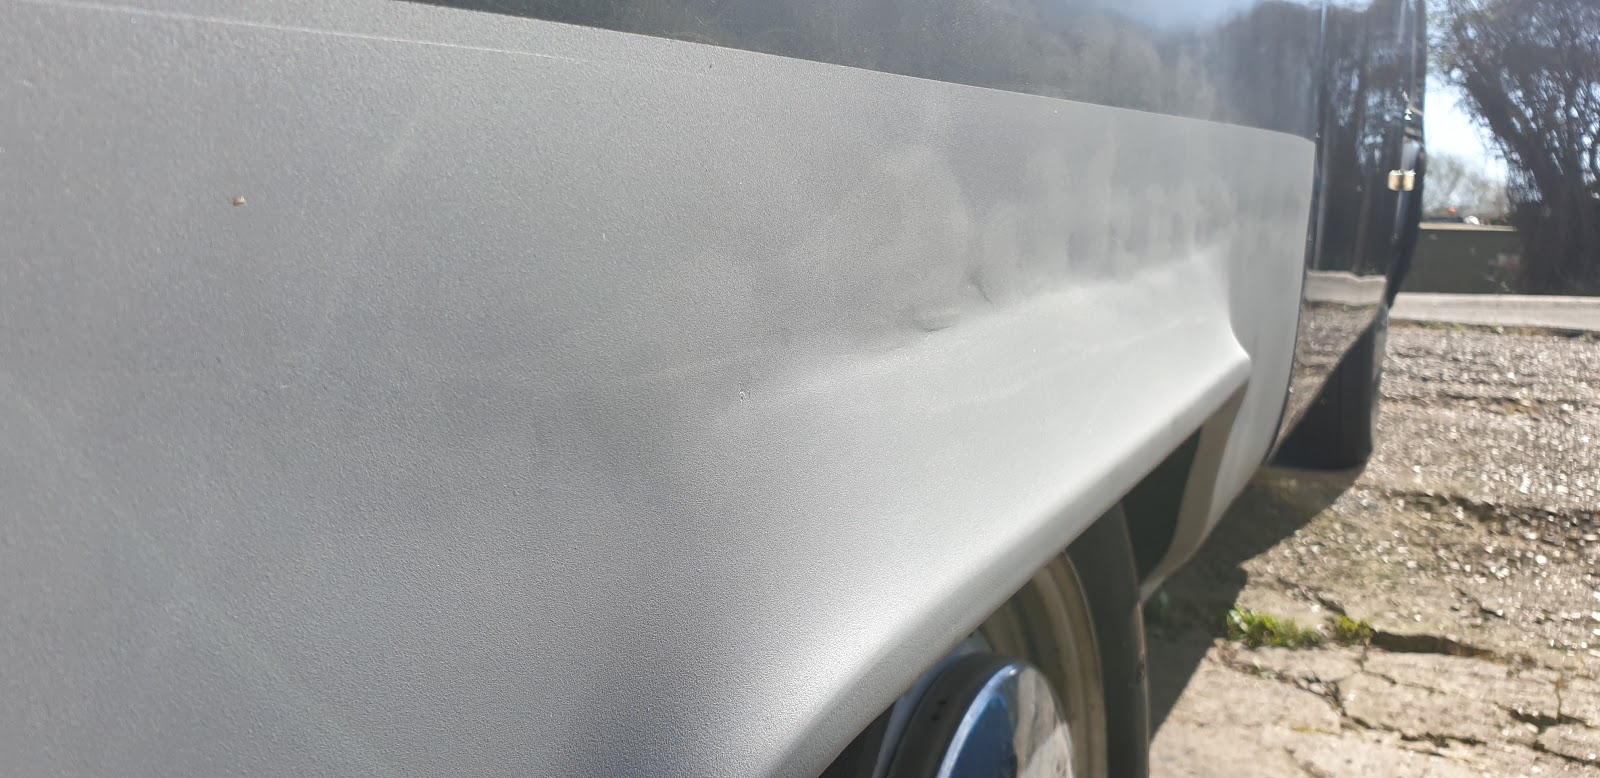
As you can see the weld lines and filler work is far from ideal.

Finally the weather and the Covid-19 lock down events gave me a chance to complete this paintwork!

A mixed blessing but with enforced holidays from work give me a chance to get this finally finished!

So sanded back the epoxy primer and started filler work.


Filler was quite extensive for a few reasons. Firstly the amount of skim filler Danbury put on all the panels! Was 5mm deep and secondly the amount of welding and sealing I had done before


Once the filler was flatted back and pre-paint clean and masking was finished. Ready for primer


2 Coats of Epoxy primer was applied


First 2 coats of Black cellulose paint applied. Not very even coats as had issues with the spray gun setup. Crescent shaped pattern. But went ahead and got two coats on.


Next to flat sand the surface down again. Sill struggled to get an even flat surface!

So I was not happy about the flatting down of the first 2 coats. The surface was rough and uneven still. So continued to flat down to get a level coat. Lots of orange peel and over spray / roughness.


Downheartedly I decided to pick myself up and flatted down some more and repeated the top coats again.

After a few days off I regrouped and picked my motivation back up again.


2 further top coats applied and then 2 more Higher Thinners coats applied. Swapped my HVLP spray gun for a old siphon type gun I had from a air tools kit.

The spray gun was not ideal but at least it could lay down a coat. Quite stripy but I got a film down.

So the surface finish is still suffers from over spray and it's cellulose paint so will need one more flat sanding with 1500-3000 grit and G3, G6, G10 compound and a good polish.

I decided to wait for full hardening of the top coats to ensure that the paint has dried.

Still not got time yet to finish the flast sand & polish....... Updates to come soon........